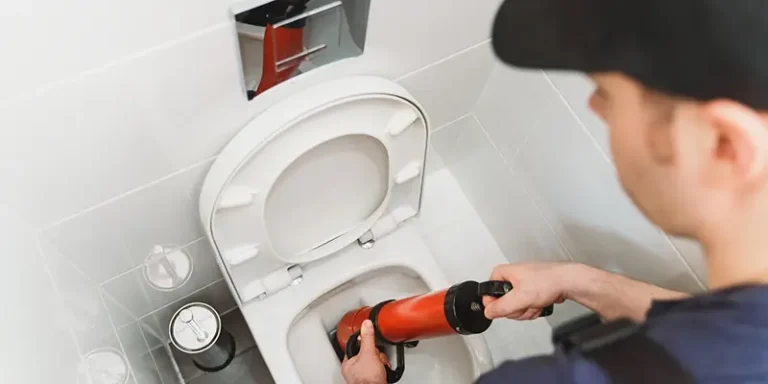

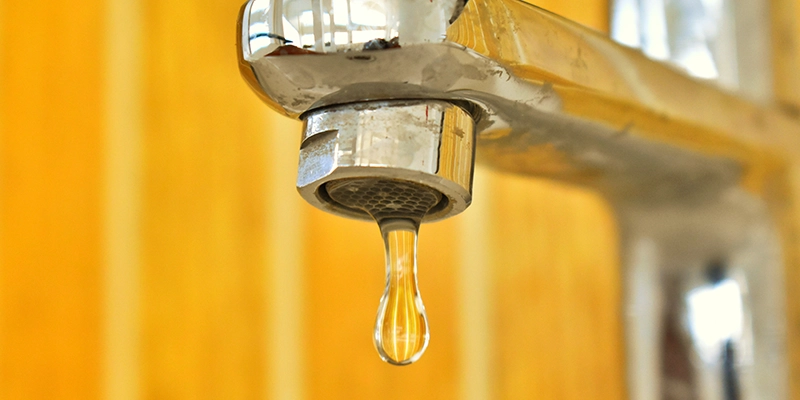
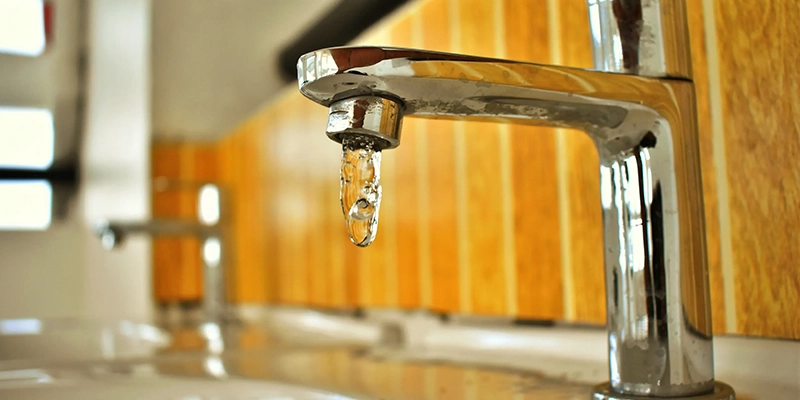
There are few things more infuriating than a leaky faucet. You twist the faucet handle, yet the dripping water continues. Although your first instinct may be to call a handyman to stop the insufferable dripping as soon as it begins, you can save a lot of money by fixing it yourself. But that brings up another issue: How on earth do you do that?
Well, it may surprise you to learn that fixing a dripping faucet is not nearly as difficult and complex as it may seem. Although you will need to roll up your sleeves and get your hands dirty, the task is actually quite simple – usually. So, don’t rush to give those licensed plumbers a call just yet, give it a try yourself with this handy guide on how to fix a leaky faucet.
Common Causes For Leaky Faucets
Before you even think about disassembling your faucet to stop it from dripping, it’s important to know why it began dripping in the first place. There are five common causes of a leaking faucet.
Damaged Cartridge
- Many households still have faucets with two handles, one for cold water and one for hot water. These types of faucets are known as cartridge faucets. The cartridge is a valve that controls the flow of water. Therefore, if your faucet is dripping, it’s likely because the cartridge has been damaged.
Broken Washers
- Washers are the things that rest against the valve seat. Over time, these washers tend to degrade, which can eventually cause leaking. Leaking can also be caused by washers that haven’t been properly installed.
Water Pressure
- Sometimes, your faucet will only drip during certain times of the day or when the handles are turned a certain way. If this is the case for you, the problem is likely rooted in your house’s water pressure.
Malfunctioning O-Ring
- Your faucet’s o-ring is attached to the stem screw, holding the faucet handle in place. Like washers, these o-rings tend to deteriorate over time, which can eventually cause leaking.
Worn Valve Seat
- Valve seats connect faucets to their spouts. They are highly susceptible to sediment, which causes them to rust over time. If your faucet leaks from the spout, the valve seat is probably the cause.
How To Fix A Leaky Faucet
- Adjustable wrench
- Adjustable pliers
- Flathead screwdriver
- Plumber’s grease
- Retaining clip
- New springs
- Allen wrench
- Handle screw
- Rubber washers
- Screw set
- Mounting screws
- Decorative caps (if needed)
- Utility knife
- Probably the most important step in this whole process is the first one: before doing anything, make sure that you switch off your water flow. If you don’t, you could flood your bathroom, leaving you with more problems than you started with, not to mention a hefty water bill.
- To switch off the water, turn the fixture shut-off valves (located beneath the sink) off. You’ll have to turn off the main water supply if you don’t have any fixture shut-off valves. Before continuing, take the time to turn on the faucet and make sure that no water comes out.
- For standard fixtures, disassembling the faucet handles can be done with a simple flat head screwdriver or needle nose pliers to remove the caps at the handle, which in turn will reveal the handle screws. Unscrew these, and you’re good to go. For non-standard fixtures, we recommend identifying the exact type of faucet you have before trying to disassemble the handles.
- You should see the valve stem or cartridge with the removed faucet handles. Cartridge faucets can be pulled straight out, while compression faucets have a valve that can be unscrewed. If you are having trouble, refer to your faucet’s manual.
- Now you will have to diagnose the problem based on the information found in the first section of this guide. Take note of your faucet’s washers, seals, and o-rings.
- Remove the damaged parts of your old faucet and take it to your local hardware store to get some assistance. Ask for some exact duplicates to be safe.
- Before you insert your new parts, take the time to throw some white vinegar over the valve seat to clean out any mineral deposits. Let it soak for a few minutes, then scrub it off.
- With the new parts, you can now carefully reassemble your faucet – don’t apply too much pressure. Be sure to test it for any leaks before you pack your tools away.