
Dryer vent installation is a common house owner challenge. Having a functioning dryer vent that allows all of the moist exhaust air to escape your home is essential.
It prevents any potential for a fire hazard or water damage risk in your home and it keeps your clothes dryer in tip-top condition.
If you want to install a new dryer vent in your home but you are worried at the prospect of the task, worry no further. In this simple guide, we are going to tell you how you can easily install dryer vents in your home by yourself.
Steps To Install a Dryer Vent Properly
Step 1: Determine the path of your dryer vent between the dryer and the exterior walls
First things first, you will need to figure out where your dryer will be situated and what the path will be between the dryer and your exterior wall.
A straight path is preferable but you may need a 90-degree elbow turn at one point if you are covering a longer distance between inside and outside. Keep in mind that a dryer vent should ideally be no more than 25 feet for a straight path.
Once you have decided on the path, measure its length. Make sure everything will line up before you move any further.
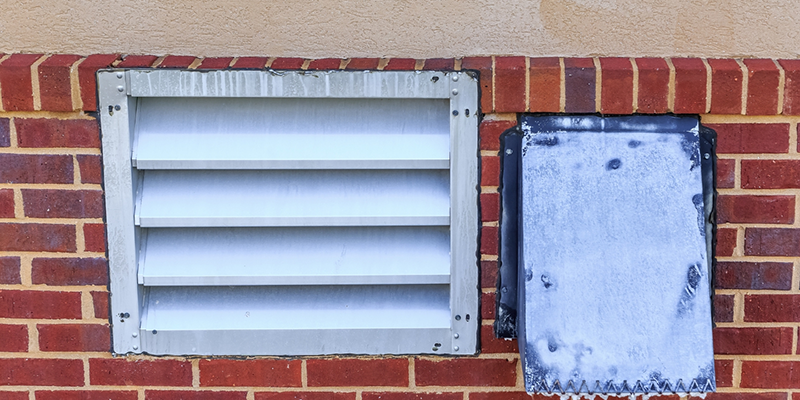
Step 2: Put a hole in the exterior wall and drill in your vent cap
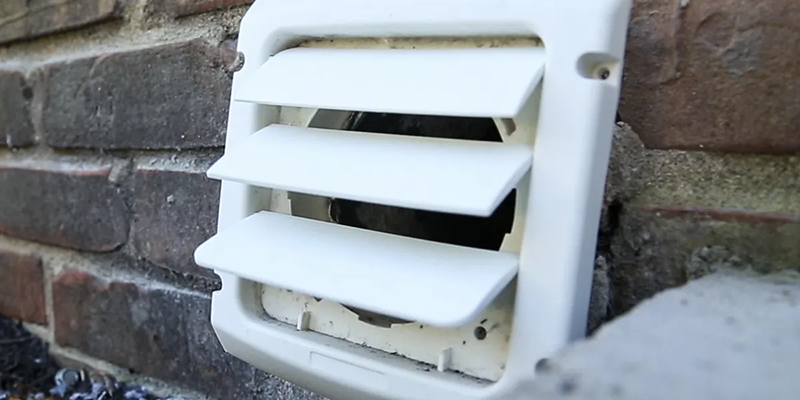
The vent cap is the endpoint for your ventilation duct. The outside vent is what will allow the warm air to escape your home with adequate and appropriate airflow.
Before you begin to fit the dryer duct, prepare the wall vent and vent cap first. Start by drilling an appropriate-sized hole in your exterior wall, one that will fit the size of the vent cap you have purchased.
You may need different tools for this depending on the material and thickness of your wall, check these aspects out before you begin.
Go outside and screw the vent cap tightly in place and remember to use caulk to secure the wall outlet from weather and external forces. Once you have done that, you can return inside your home again and fit the duct to the vent cap.
Step 3: Connect the dryer and vent cap with the dryer vent
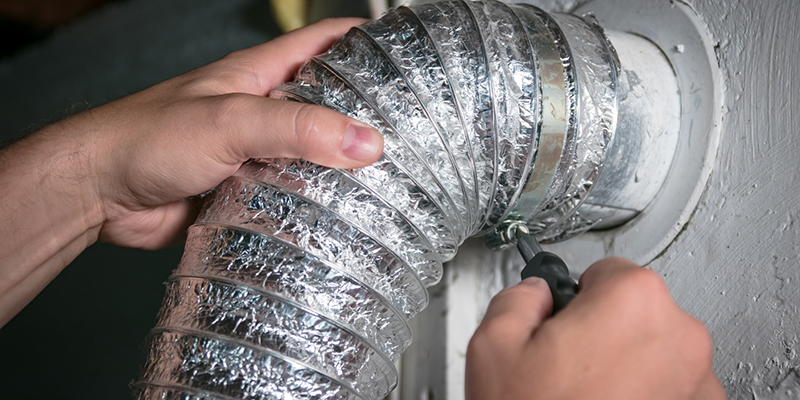
Now it is time to pull everything together. After the vent cap is installed, you will need to return to your measurements from earlier.
Cut out a piece of vacuum hose equivalent to the measurements of the length between your dryer’s position and the vent leading to the home’s exterior.
Some dryer vent hoses will come in the form of a flat sheet, which you must measure and then roll to make both sides connect, and others will be in a cylindrical form already.
Simply cut to your measurements and then attach the hose to the dryer on one end and the entrance to the vent on the other end.
When installing the dryer vent hose, make sure to secure it in place with either a tube clamp or foil tape, especially if you are joining multiple pieces of hose together.
Step 4: Check your work
Before you pat yourself on the back for a job well done, ensure to check everything is working correctly and connected properly before you use the dryer unattended.
You can check everything is working by turning on the dryer and then going outside to check that warm air is flowing through the vent.
If you don’t see any warm air escaping the vent, it is likely that the installation hasn’t worked and the air is not flowing through the vent system and making it out the other side.
It could be escaping into the room where your dryer is, due to holes or gaps between the dryer, dryer duct, and vent. Go back and check everything is secured before you go any further.
If you see warm air freely flowing from the vent, the installation should have been a success.
Going forward, make sure to double-check regularly that the airflow continues to leave the house, clear your dryer of lint buildup, and check around the location of your dryer for any mold or damp. It is important to take good care of your dryer to keep your home safe in the future.
We hope this guide has helped you successfully navigate dryer vent installation and that you are happy with your brand-new dryer vent system. If you need a professional handy man to do this for you, Hawthrone service is a phone call away.